I discussed the flooring choices in an earlier blog - 32.Flooring and trim decisions in - 21.Picking Out Doors & Trim. But now, as it these elements got installed, I was pleased to see that it did, indeed, come together. It is really impossible to determine if everything is going to look good together in the end - but it did!
The flooring had to be coordinated with the cabinet install. First the glued down floor - tile & LVT. Then the cabinets that sit on top of the glued down floor. For the floating floor, the cabinets go in first then the LVP gets installed around the cabinets and finally the toe kick for the cabinets gets installed after the LVP. I can't say enough good things about the crew from Wallace Floor Covering that installed the flooring. Specialists is an understatement.
 Prepping the back halllway from garage to kitchen for tiling
 Daltile BW03 - Brickwork. Will be ready to grout tomorrow.
 Made in USA
 Tile finished - from inside laundry room
 Mannington Adura Flex \"Shell\" Made in USA") LVT (luxury viny tile) Mannington Adura Flex "Shell" Made in USA
LVT (luxury viny tile) Mannington Adura Flex "Shell" Made in USA  Master bathroom all finished
 Getting the Mohawk LVP ready.
 Lower level LVP - don't have a photo of the main floor
 Lower level with LVP laid around the cabinets
After the flooring is installed the trim can be put in. All of my trim came from Rosin Woodwork Company in Bonduel, WI and the doors were from Woodport Doors in Shawano. I chose to stain everything rather than paint; I love natural wood and hate to see it covered in paint. Eugene Alexander owner of Paint Today Services, Pulaski WI, and his crew took care of all the painting and staining. This included the walls, all the trim and the doors - both interior and exterior. He should really rename his company to SUPERIOR Paint Today because the finish on all the trim & doors is certainly superior; beautifully smooth and uniform.
Originally, for the upper level, I selected 3 panel doors as shown in blog 21.Picking Out Doors & Trim. But in the end I decided to go with 2 panel doors. I think they look just as nice, and saved me a few $$.
 Main floor doors & trim have arrived. Stain is American Walnut, wood is yellow birch.
 Lower level doors are red oak.
 Carpenters installed a small shim where the hinges go before they installed the jamb trim.
 Jeff is putting up the 3 piece craftsman headers
 Finished door - this is the coat closet just inside the front door
 Corner blocks on base boards
 Transoms over patio door by kitchen
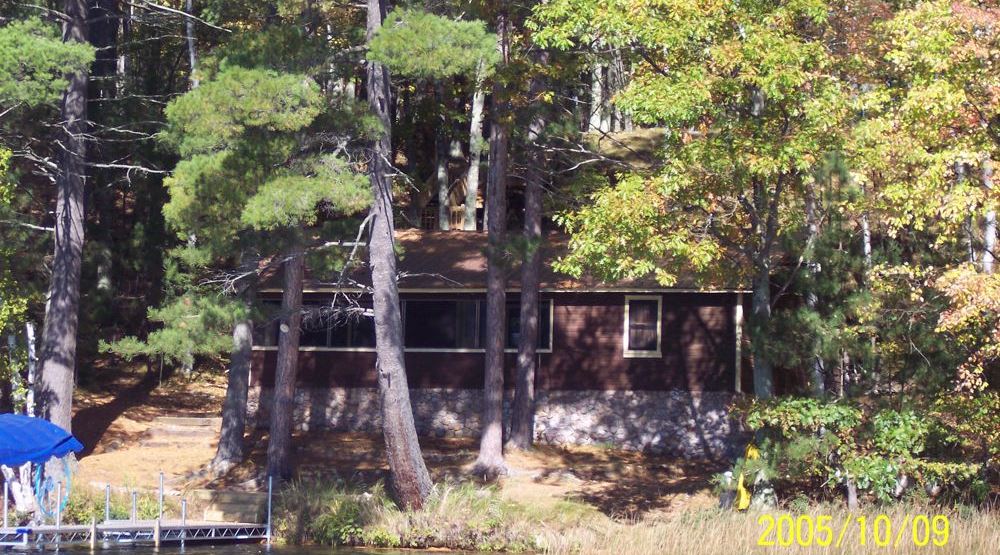
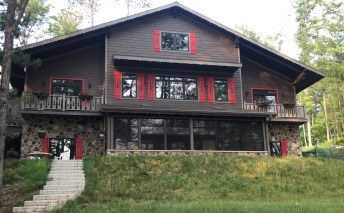
. Main entry door on lower level is off screen porch so not very visable from the lake - so not red.") Front door (from driveway). Main entry door on lower level is off screen porch so not very visable from the lake - so not red.
Front door (from driveway). Main entry door on lower level is off screen porch so not very visable from the lake - so not red. Upper level has granite window sills. Main area is same as kitchen granite, Lavender Gray.
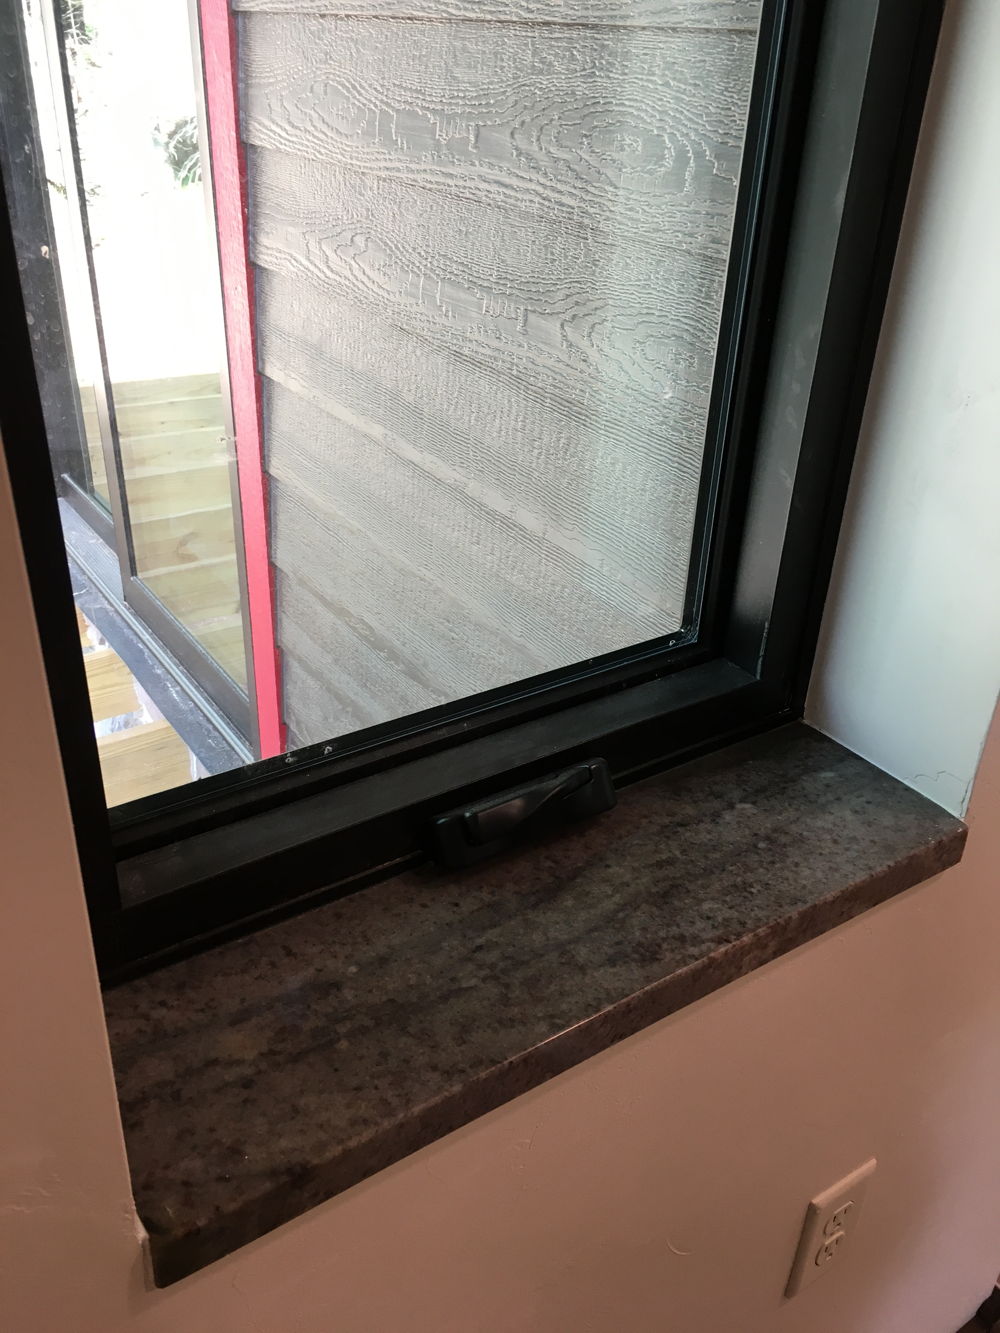
 Master bedroom sills are Wisconsin Red, the same granite as master bath.
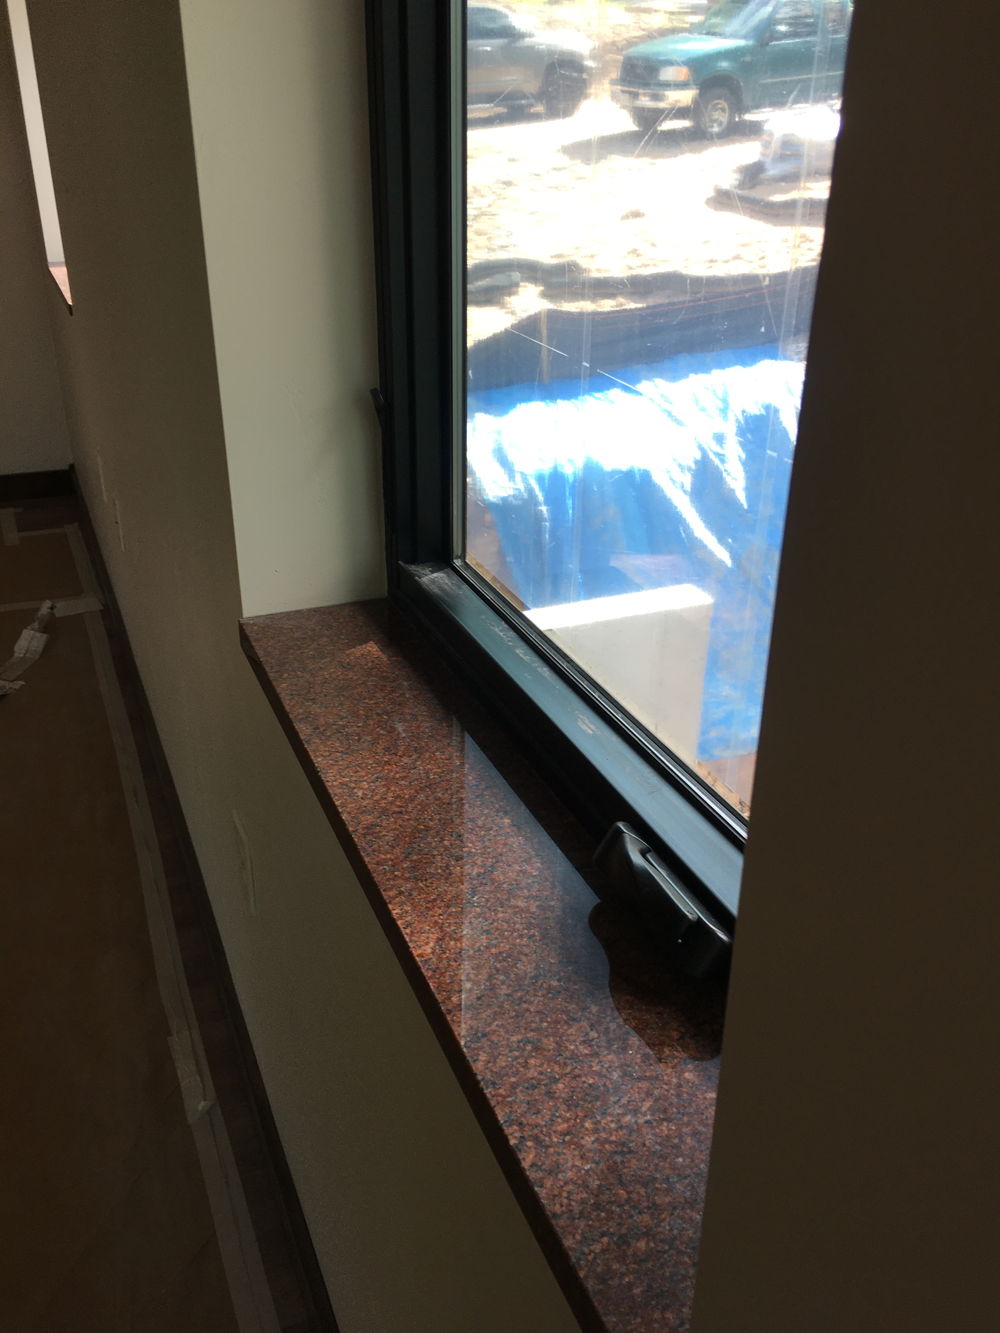
In the "cottage", I tried to use elements of the old cottage wherever I could and so the stain for the trim and doors was custom to match the color of the aged pine beadboard.
 Trim arrives.
 Doors and trim staged in great room.
 Looking into main bathroom, lower level. Used the beadboard for the cabinet doors. Note the corner blocks on the door trim
 Ended up with a bit of extra space, but not enough for a linen closet. So made some shelves.
 Pantry shelving has double doors made from old bedroom doors. Trim from around old shelving with names of people who stayed at Greenwood cottage. Tom & I never did sign the boards.
 Lower level powder room. Beadboard wainscoting and old barrel as a vanity with wash basin as a sink.